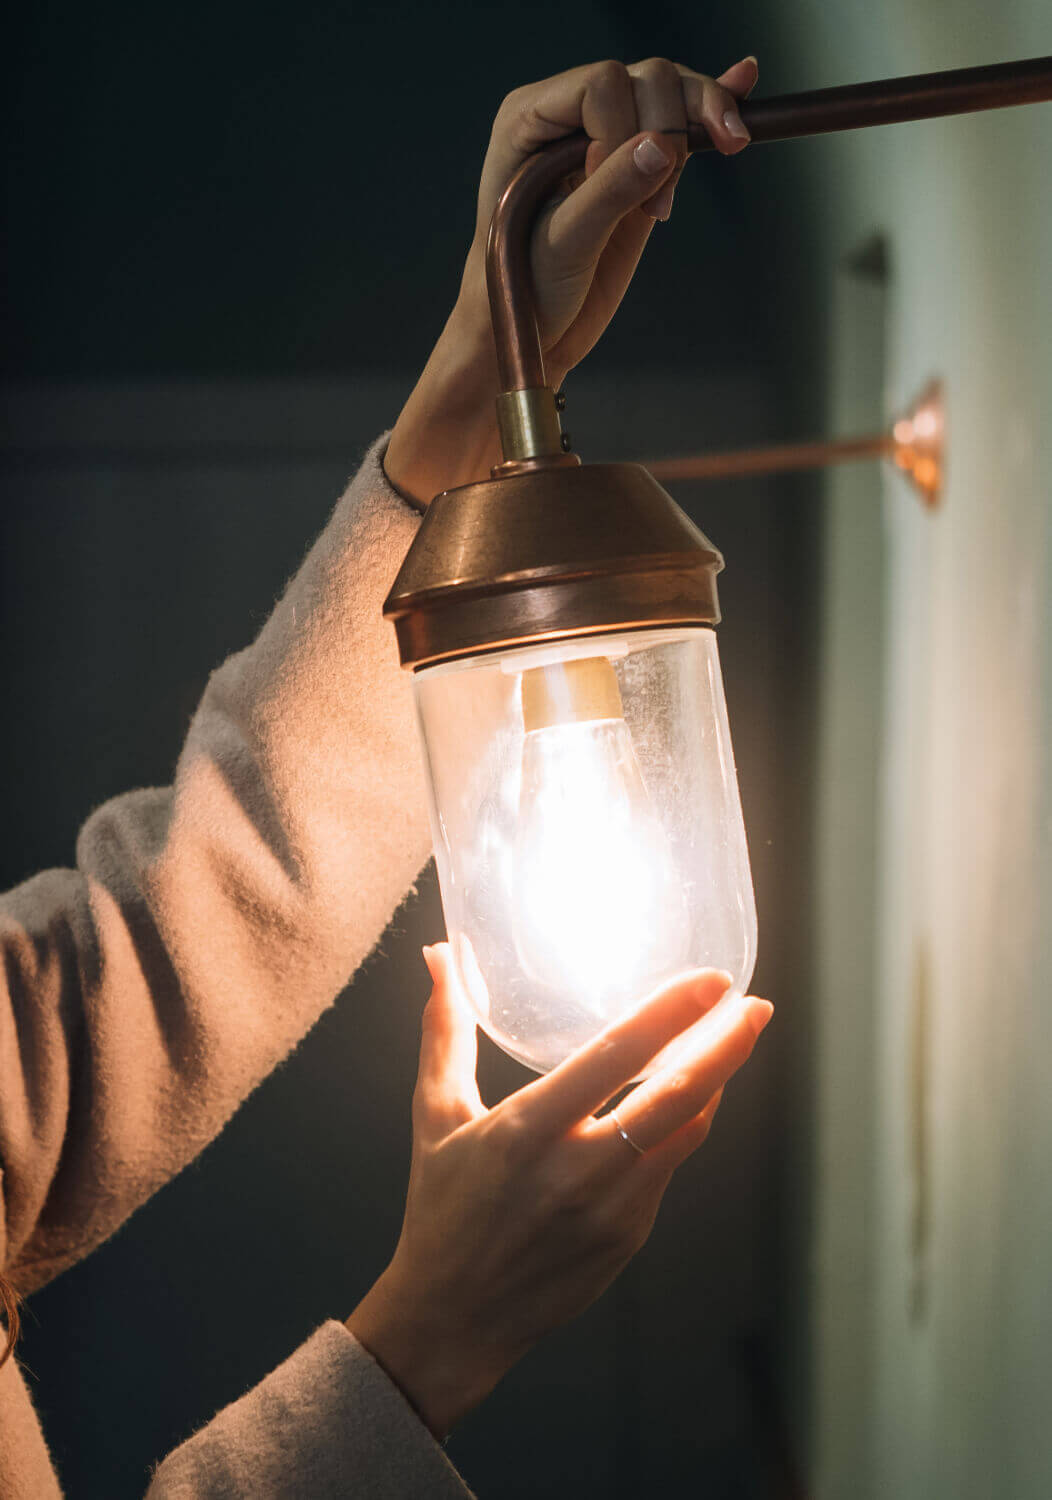
Repairing your light fixture: Step-by-step guide.
Whether it's a bedside lamp, desk lamp or floor lamp, your lights are essential to your daily life. But what should you do when they stop working? Rather than replacing them, repairing them is an economical and ecological solution. This practical guide will take you step by step to identify the most common faults, repair them effectively and extend the life of your lights.
1. Understand the most common failures
Before you start repairing, it is important to identify the exact problem. Here are the most common failures and their possible causes.
a) The lamp no longer lights up
-
Potential causes :
- Burnt out bulb.
- Poor contact at the base or switch.
- Faulty power cable.
b) The lamp flashes or flickers
-
Potential causes :
- Bulb not screwed in properly or not suitable.
- Bad contact in the internal electrical circuit.
- Voltage fluctuation in the electrical network.
c) The switch no longer responds
-
Potential causes :
- Worn or stuck switch.
- Faulty internal wiring.
d) The lamp heats up or makes noises
-
Potential causes :
- Bulb too powerful for the light fixture.
- Short circuit in the internal circuit.
Tip : Before beginning any repair, test the bulb in another light fixture to ensure it is not the fault.
2. Precautions before repairing
a) Always unplug the light fixture
Before any intervention, make sure that the lamp is unplugged to avoid any risk of electrocution.
b) Prepare your equipment
Here is a list of essential tools:
- Screwdriver (flat and crosshead).
- Cutting pliers and stripping pliers.
- Multimeter for testing current.
- Insulating tape.
- Replacement bulbs.
c) Work in a well-lit space
Find a clean, clear area with enough light to work safely.
3. Repair a bedside lamp
Bedside lamps, compact and simple in design, are among the easiest to repair.
Step 1: Check the bulb
- Unscrew the bulb and inspect it for signs of burnt or broken filament.
- Replace the bulb with a new one and test the lamp.
Step 2: Clean the base
- Use a dry cloth to remove dust or oxidation from the base.
- If the metal contacts seem loose, gently tighten them with a screwdriver.
Step 3: Inspect the switch
- Open the switch housing with a screwdriver.
- Check the connections using a multimeter. If the switch is defective, replace it with a compatible model.
Step 4: Repair the power cable
- Examine the cable for cuts or damaged sections.
- Cut off the damaged part with wire cutters, strip the wires and reconnect them with terminal blocks or electrical tape.
4. Repair a desk lamp
Desk lamps, often articulated and equipped with features like dimmers or built-in LED bulbs, may require a more specific approach.
Step 1: Repair the joints
- If the articulated arms no longer hold properly, tighten the screws or replace them.
- Apply a drop of lubricant to improve mobility if necessary.
Step 2: Test the built-in LED bulbs
- If your lamp has built-in LEDs, test the circuit with a multimeter.
- If the LEDs no longer work, it will often be necessary to replace the entire LED module or lamp head.
Step 3: Repair the switch or dimmer
- Open the touch switch or dimmer switch housing.
- Clean the contacts and check the electrical connections.
- If the component is out of order, replace it with a new one.
5. Repairing a floor lamp
Floor lamps, due to their size, can present specific problems related to their structure or the length of the cables.
Step 1: Stabilize the base
- If the lamp wobbles, check the base and tighten the screws.
- If the base is damaged, replace it with a compatible part.
Step 2: Check the foot
- Examine the foot for cracks or bent areas.
- Carefully straighten bent sections or replace broken parts.
Step 3: Repair the foot switch
- Open the switch housing and inspect the connections.
- Use a multimeter to check for current flow. If necessary, replace the switch.
Step 4: Inspect the internal cables
- Disassemble the lamp to access the cables.
- Replace worn or bare sections and insulate them properly.
6. Tips to avoid breakdowns in the future
To extend the life of your lights, adopt these good practices:
a) Use suitable bulbs
- Check the maximum power indicated on the light fixture and choose compatible bulbs (LED, halogen or others).
b) Clean regularly
- Dust lampshades, light bulbs and metal surfaces to prevent dirt build-up.
c) Avoid live cables
- Ensure that cables are not pinched or subjected to excessive tension when moving the luminaire.
d) Check the power supply
- Plug your lights into proper outlets to avoid power surges.
7. When to call a professional?
Although many repairs can be done yourself, some situations require the intervention of a qualified electrician:
- Complex problems : Short circuits, blown fuses or burning smells.
- Built-in luminaire : If your lamp is connected directly to a wall electrical system.
- Lack of tools or skills : If you are not comfortable with electrical manipulations.
8. Checklist for repairing your light fixture
- Always unplug the light fixture before beginning repair.
- Test the bulb to eliminate this simple cause.
- Inspect cables for cuts or kinks.
- Check switches and replace if necessary.
- Make sure all connections are well insulated and secure.
- Clean regularly to prevent build-up of dust or dirt.
Repairing your light fixtures, whether it's a bedside lamp, desk lamp or floor lamp, is a simple and beneficial process for your wallet and the planet. With this step-by-step guide, you have all the keys to identify common faults and provide them with an effective solution. By taking care of your lamps and following our advice, you will extend their lifespan while preserving their aesthetic and functional appearance.
